Redoing the joints in the kitchen or bathroom is often a source of frustration for the amateur DIYer. We end up with full silicone fingers, wavy lines and questionable waterproofing. However, now is the right time to intervene. Summer heat helps the product dry, but only if you follow the correct method. The secret is not in the pressure exerted on the gun. It’s a matter of surgical preparation to get it right the first time.
Зміст
Why you need to remove the old seal before redoing the bathroom seals
The temptation to cover the old joint is strong. This is a fatal error. The new material will not adhere properly to a dirty or unstable surface. To achieve a lasting result, complete removal of old silicone is non-negotiable.
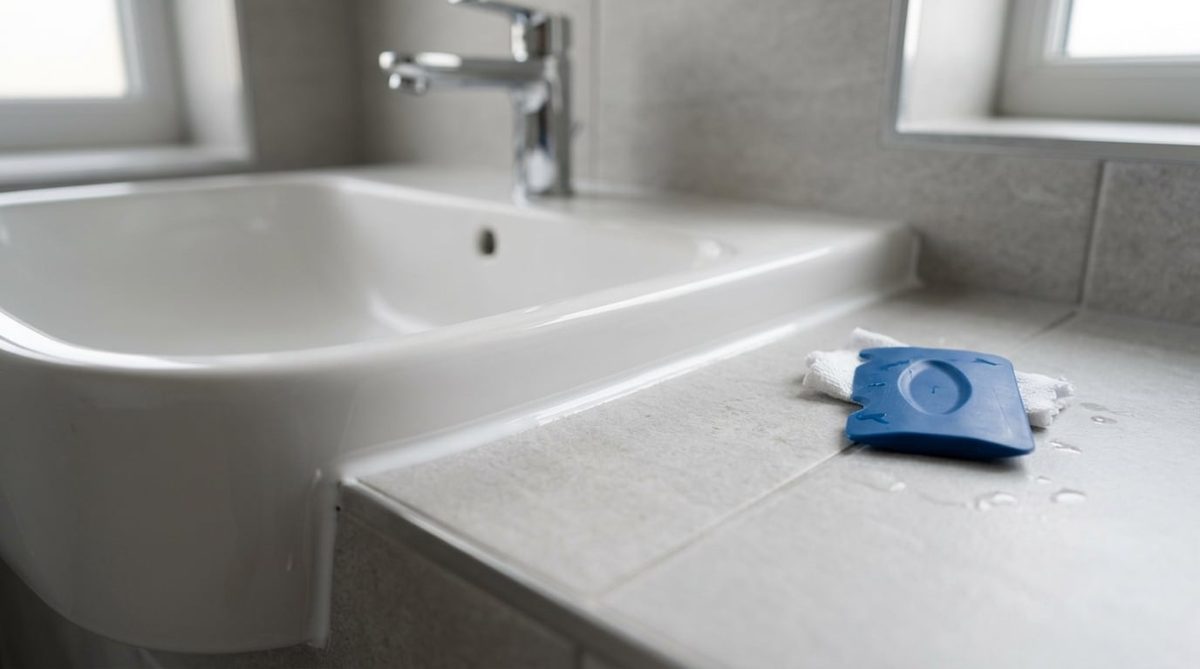
Take a flat cutter or a dedicated scraper. Meticulously scrape off any residue clinging to the tiles. Don’t leave anything. Once the area is completely clear, cleaning is necessary. A degreased and dry support allows the new paste to anchor permanently.
- Use a cloth soaked in white vinegar or household alcohol.
- Rub to remove the last impurities.
- Wait until the moisture has completely evaporated.
If the surface is wet, the seal will eventually come off. The ground must be perfectly dry before application.
The ribbon and soapy finger technique for clean smoothing
This is where the work gets precise. Before inserting the cartridge into the gun, place masking tape on either side of the crack. These two lines of tape demarcate the space to the nearest millimeter and block spillage onto the earthenware.
Once the tape is in place, lay down the silicone bead evenly. Smoothing follows immediately. It’s time to use the soap smoothing trick.
Dip your index finger in a small container of water with dishwashing liquid. This mixture prevents the sticky polymer from sticking to your skin. The finger slides fluidly, compacting the material without spreading it roughly. You get a smooth and uniform surface.
Peel off the adhesive tape very carefully. Be careful, you have to do this before the dough sets. If you wait too long, the seal may tear upon removal. Eventually you reveal razor-sharp edges.
How long should you wait before using the bathroom after redoing the joints?
The bright white cord makes you want to test the water flow immediately. You have to be patient. The heat of this summer period creates a false impression of rapid drying. The surface may feel dry to the touch, but the interior of the material is not yet stable.
Strict compliance with 24 hour drying is essential. Not the slightest drop of water. No steam projection. Ambient humidity significantly influences the chemical process at the heart of the product.
This incompressible period of time allows the material to acquire its final elasticity. It transforms into an impenetrable shield against future mold and infiltration. If you cut this period short, you risk compromising the entire waterproofness of the work.
The essential tools and materials for a successful renovation
To carry out this operation successfully, you will need a simple but effective basic kit.
- A flat cutter or a scraper for anchoring.
- Quality masking tape.
- Household alcohol or white vinegar.
- Dishwashing liquid for smoothing.
- A cartridge gun and new silicone.
By combining careful preparation, precise framing of the adhesives and the patience to let the material set, waterproofing sinks or bathtubs is no longer a headache. This little summer maintenance gives a new lease of life to domestic installations. Given the effectiveness of this protocol, what will be the next renovation challenge chosen to beautify the house before the start of the school year?