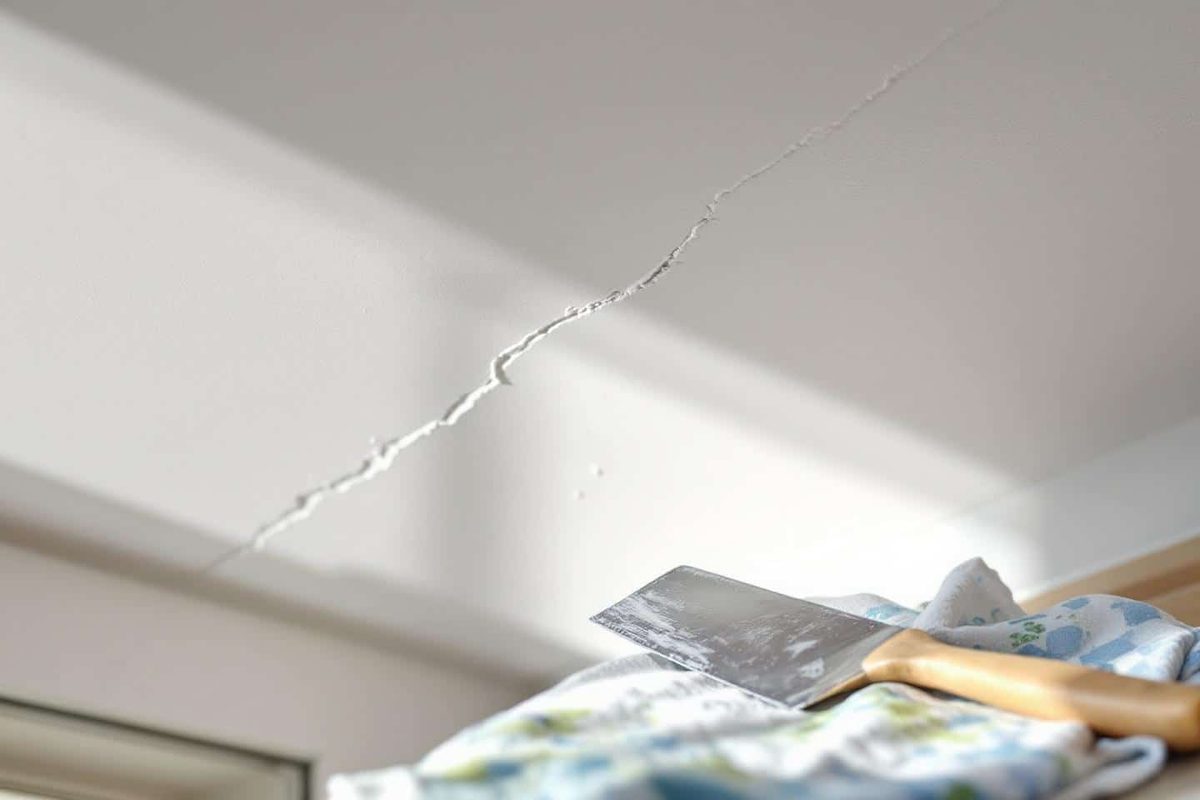
A crack snaking across your ceiling is the kind of annoyance that ruins the vibe of your living room or bedroom the second you spot it. Do you panic? Do you tear everything down? Not so fast.
There is a lot of misinformation out there. People think fixing a crack is an impossible feat or a never-ending construction project. It isn’t. You can make your ceiling look flawless again without turning your apartment into a dust zone. Here is how to hide a crack invisibly.
Зміст
Why do ceiling cracks happen?
It’s hard to ignore a crack. It feels like it appeared overnight. You might imagine the worst. But the cause is usually boring.
Temperature changes. Dry air in winter. Minor building shifts. Natural aging of materials. All it takes is a slight thermal shock at the start of the cold season for paint or plaster to crack. In November, when heating kicks in and humidity fluctuates, these micro-movements are normal in homes.
Many assume a crack means serious structural damage. It usually doesn’t. It’s just a “stress mark” from the house living its life. Catastrophic water leaks or urgent threats are rare. But knowing the difference matters.
How to spot a harmless crack
You don’t need to be a detective. A careful look at the type of crack helps you decide what to do.
- Fine and shallow: Running along a joint or plasterboard seam? Easy fix.
- Wide and deep: Forming a clear opening or a spiderweb pattern? Call a pro.
A simple inspection in daylight and by touch usually identifies “cosmetic” cracks. You can handle these without calling in heavy machinery or stressing over quotes.
Prep work: The key to an invisible repair
A perfect repair starts with prep. Bad habits here ruin good results later.
Clean, scrape, and dust off
Don’t rush this. If the filler doesn’t stick, it peels off in weeks. You need:
- Scrape: Use a putty knife to gently remove crumbling material from the crack.
- Dust: Use a soft brush and vacuum to clear debris. The surface must be clean.
- Dampen: Lightly moisten the area if needed to help the filler adhere.
Five minutes of prep now saves headaches later.
Choosing the right filler
Hardware stores have dozens of products. Light filling compound is the winner here. It applies easily. It has an airy texture. It hides cracks without adding bulk. The finish blends with the old ceiling, even in strong autumn light.
You can use ready-mixed filler for ease or mix your own for purity. Either way, avoid thick, heavy fillers. They create ugly bumps. You want invisibility, not a scar.
The pro technique: Three key steps
This isn’t magic. It’s just three precise moves. No unnecessary dust.
Applying the filler
Use a fine-toothed trowel (also called a notched trowel). This creates micro-grooves in the filler. It prevents thick buildup. It ensures a perfect bond with the original material.
Press lightly. Smooth in the direction of the crack. The filler settles into the gap without bleeding out.
If the crack still shows through after the first layer dries, apply a second thin coat.
Sanding without failure
Once the filler is dry, sand it. Use a fine abrasive (grain 180 or 240). Be gentle. You aren’t digging holes. You’re making the surface as smooth as the rest of the ceiling.
Circular motions. Light pressure. A few passes are enough. The finish should feel ultra-smooth to the touch. That’s your success metric.
Painting with tricks
This is the trick that makes people forget the repair existed. Use the exact same paint as the ceiling. Preferably with a small foam roller.
Start by dabbing gently on the repaired spot. Then, feather the edges outward into the surrounding paint.
If the paint has yellowed or faded, touch up the entire section. Winter light is harsh. It reveals every flaw. Perfect the finish so the crack stays a bad memory.
The crack is gone. The ceiling looks new. But wait—what if the crack comes back? That’s a problem for part two. For now, enjoy the clean lines.
Fixing a crack is only half the battle. The real win is keeping it from coming back. November brings cold air and heating systems that test every plasterboard joint in your house. If you ignore the signs now, you’ll be sanding again next spring.
Daily habits to stop moisture damage
Humidity is the enemy. It swells joints. It shrinks plaster. Keep the air moving. Open windows for ten minutes a day. Don’t let rooms get stale. Check your ventilation. If the air is damp, mold grows. Paint peels. Cracks reopen.
A ceiling that breathes stays smooth.
You don’t need a dehumidifier for every room. Just consistent airflow. Avoid sudden temperature spikes. Turn the heating up gradually. Let the structure adapt. This small effort extends the life of your repair.
Spot trouble early
Don’t wait for a chunk of plaster to fall. Watch for hairline fractures. Notice changes in the paint texture. A slight ripple means movement. A dark spot might mean moisture. Catch it early.
Act fast.
Keep a small tub of joint compound nearby. Keep a putty knife within reach. Don’t wait until February to fix a tiny split. A quick touch-up costs pennies. A full re-plaster costs thousands.
Tools and materials you actually need
You don’t need a professional toolkit. Just the basics:
- Flexible putty knife : 4-inch width is enough for most cracks.
- Joint compound : All-purpose or topping compound.
- Sandpaper : 120-grit for smoothing.
- Primer and paint : To match existing walls.
Safety matters. Wear a mask when sanding. Dust gets everywhere. It gets in your lungs. Use a drop cloth. Protect your floor.
Why cracks return
Thermal expansion. House settling. Poor initial preparation. If you didn’t clean the crack before filling it, the new compound won’t stick. If you didn’t prime before painting, the paint will crack again.
Check the cause. Is water leaking from above? Is the house shifting? Address the root, not just the symptom.
Seasonal vigilance
Winter stresses joints. Summer expands them. Check your ceilings twice a year. Once in autumn. Once in spring. Look for new lines. Feel for bumps.
A proactive approach saves time. It saves money. It keeps your home looking sharp.
Why wait for the next crack to appear? Grab your tools. Fix the small issue today. Enjoy a smooth ceiling tomorrow.
The next surprise might be sooner than you think. But you’ll be ready.